Integrate AI Image Generation API into Your Website in 10 Minutes (JavaScript/Node.js Example)
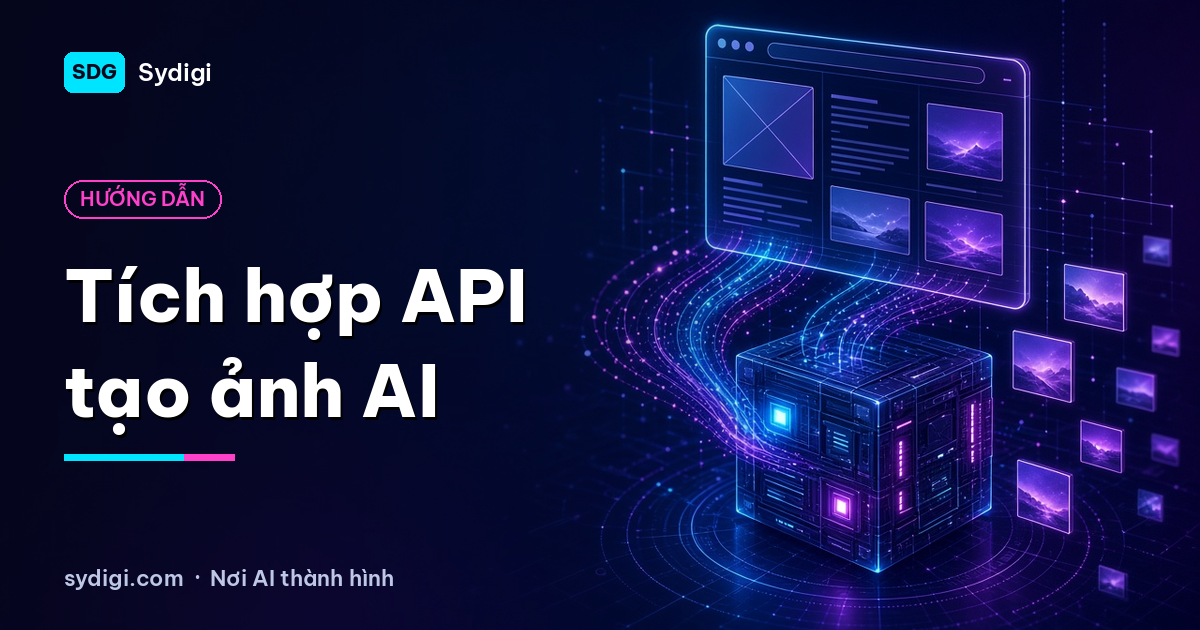
Want your website to have a "text-to-image" feature? With an image generation API, you don't need to run GPUs, install models, or manage queues. This article guides you through integrating the Lumina AI Image API – an AI image and video generation platform at lumina.aiappviet.com – into your website using JavaScript/Node.js in a secure, clean, and scalable way.
Source: The endpoints and parameters in this article are taken from the API Keys page on Lumina (API documentation is visible after logging in). If Lumina updates its API, please prioritize the documentation on that page.
Quick Info about Lumina API
- Base URL:
https://lumina.aiappviet.com - Authentication: header
Authorization: Bearer <API key>(key formatlm_...). - Generate Image:
POST /api/v1/images - Generate Video:
POST /api/v1/videos - Get task results:
GET /api/v1/generations/{id} - Pricing: Contact us for the best price.
- Storage: images and videos in the Lumina library are only kept for 24 hours – please download them if you need long-term storage.
Step 1: Get your API Key
- Visit lumina.aiappviet.com, register/log in to your account.
- Purchase a suitable credit package.
- Go to the API Keys section to view and copy your key.
- Save the key to an environment variable; do not include it in your source code or commit it to Git:
# file .env (add .env to .gitignore)
LUMINA_API_URL=https://lumina.aiappviet.com
LUMINA_API_KEY=lm_xxxxxxxx
General Architecture
The most common mistake is calling the API directly from the browser with the key. Anyone opening DevTools can steal your key and use up all your credits. The correct architecture is:
- Frontend (browser): A prompt input form that sends data to your backend and displays the image.
- Your Backend (Node.js): Keeps the secret key, validates input, limits requests, and then calls Lumina.
- Lumina API: Generates the image and returns the result URL.
Step 2: Quick Test with cURL
curl -X POST https://lumina.aiappviet.com/api/v1/images \
  -H "Authorization: Bearer lm_..." \
  -H "Content-Type: application/json" \
  -d '{
    "prompt": "portrait, window light",
    "size": "1:1"
  }'
Main parameters:
prompt– image description.size– aspect ratio, e.g.,"1:1","16:9".image– (optional) URL of a reference image.images– (optional) array of multiple reference image URLs, e.g., product photos that need to maintain their shape.
Step 3: Understanding Responses and Asynchronous Tasks
The result looks like this:
{
  "id": 12,
  "status": "done",
  "url": "https://.../result.png",
  "error": null,
  "creditsCharged": 2
}
statusisrunning,done, orfailed.urlhas a value whendone;errorcontains content whenfailed.creditsChargedis the number of credits deducted (failed attempts return 0). (The numbers in the example are for illustration purposes only.)
If status is running, call GET /api/v1/generations/{id} to retrieve the result once completed.
Error codes: 401 invalid key · 402 insufficient valid credits · 429 rate limit exceeded or maximum concurrent tasks reached · 400 invalid content.
Step 4: Backend Proxy with Express
// server.js
import express from 'express';
import 'dotenv/config';

const app = express();
app.use(express.json());
app.use(express.static('public'));

const BASE = process.env.LUMINA_API_URL;
const headers = {
  Authorization: `Bearer ${process.env.LUMINA_API_KEY}`,
  'Content-Type': 'application/json'
};
const sleep = (ms) => new Promise(r => setTimeout(r, ms));

async function waitForGeneration(id, timeoutMs = 120000) {
  const start = Date.now();
  while (Date.now() - start < timeoutMs) {
    const job = await fetch(`${BASE}/api/v1/generations/${id}`, { headers }).then(r => r.json());
    if (job.status !== 'running') return job;
    await sleep(2000);
  }
  throw new Error('Timeout');
}

app.post('/api/generate', async (req, res) => {
  const prompt = String(req.body.prompt || '').trim();
  if (!prompt || prompt.length > 1000) {
    return res.status(400).json({ error: 'Invalid prompt' });
  }
  try {
    const r = await fetch(`${BASE}/api/v1/images`, {
      method: 'POST',
      headers,
      body: JSON.stringify({ prompt, size: '1:1' })
    });
    let job = await r.json();
    if (!r.ok) return res.status(r.status).json({ error: job.error || 'API Error' });
    if (job.status === 'running') job = await waitForGeneration(job.id);
    if (job.status === 'failed') return res.status(500).json({ error: job.error });
    res.json({ url: job.url });
  } catch (e) {
    res.status(502).json({ error: 'Could not connect to the image generation service' });
  }
});

app.listen(3000, () => console.log('http://localhost:3000'));
Install and run:
npm init -y
npm install express dotenv
# add "type": "module" to package.json
node server.js
Step 5: Browser Interface
Create a file public/index.html:
<form id="f">
  <textarea id="prompt" rows="3" placeholder="Describe the image you want..."></textarea>
  <button>Generate Image</button>
</form>
<p id="status"></p>
<img id="result" alt="" style="max-width:100%">

<script>
const f = document.getElementById('f');
const statusEl = document.getElementById('status');
const img = document.getElementById('result');

f.addEventListener('submit', async (e) => {
  e.preventDefault();
  const btn = f.querySelector('button');
  btn.disabled = true;
  statusEl.textContent = 'Generating image...';
  try {
    const r = await fetch('/api/generate', {
      method: 'POST',
      headers: { 'Content-Type': 'application/json' },
      body: JSON.stringify({ prompt: document.getElementById('prompt').value })
    });
    const data = await r.json();
    if (!r.ok) throw new Error(data.error);
    img.src = data.url;
    statusEl.textContent = 'Done!';
  } catch (err) {
    statusEl.textContent = 'Error: ' + err.message;
  } finally {
    btn.disabled = false;
  }
});
</script>
Open http://localhost:3000, enter a prompt, and click Generate Image – your website now has AI image generation capabilities.
Extension: Generate Video with the Same Key
Using the same API key, you can generate videos via POST /api/v1/videos:
curl -X POST https://lumina.aiappviet.com/api/v1/videos \
  -H "Authorization: Bearer lm_..." \
  -H "Content-Type: application/json" \
  -d '{
    "prompt": "slow-motion model, light breeze",
    "size": "16:9",
    "duration": 5,
    "image": "https://example.com/start-frame.jpg"
  }'
image is the starting frame image (optional). Videos usually take longer, so always check the result via GET /api/v1/generations/{id}. See more at AI Video Generation API.
Before Going Live
- Rate Limiting: Block spam by IP/account (e.g.,
express-rate-limit) – while also avoiding429errors from Lumina. - Handle 402 Errors: Display a user-friendly message when credits are exhausted and monitor the balance.
- Save Images to Your System: Results on Lumina are only kept for 24 hours.
- Content Moderation: Filter prohibited prompts and comply with the terms of service.
- Logging: Record prompts, processing time, and
creditsChargedto optimize costs.
Conclusion
Integrating an image generation API into your website is straightforward if you keep the API key on the backend and correctly handle the running/done/failed states. Get started by creating an account and obtaining a key at lumina.aiappviet.com. If you want to turn your prototype into a production-ready product (users, credits, payments, deployment), check out our Turn AI App into Product service or contact SDG.

Training image-generation models, building API infrastructure and turning AI ideas into working software.
About me →